Showing posts with label Wacom. Show all posts

Tuesday, April 18, 2017

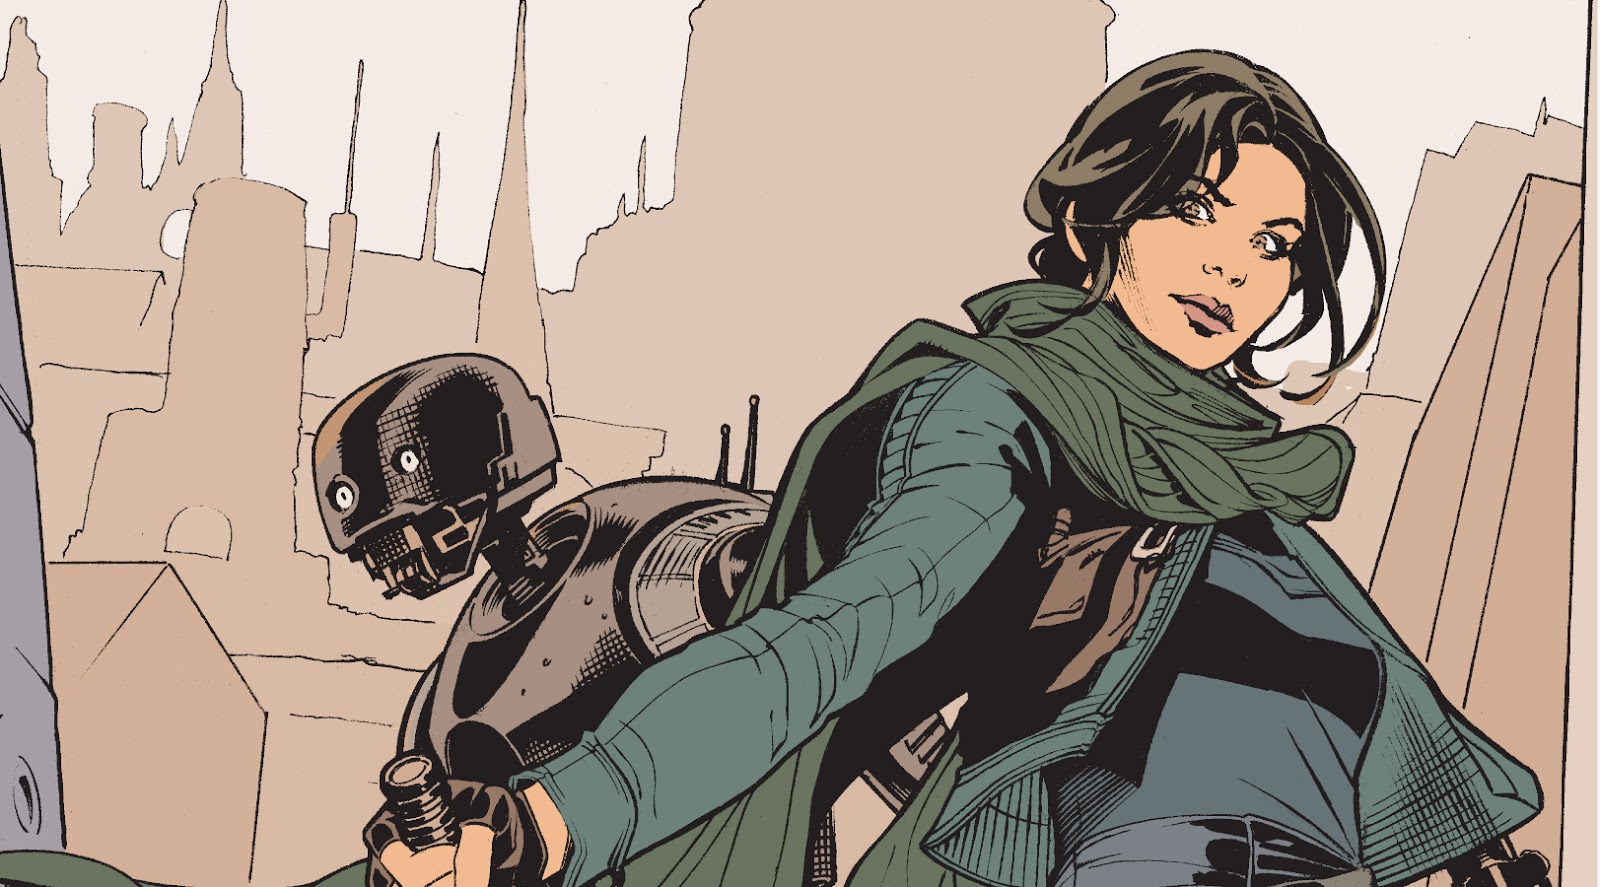
Rogue One: A Star Wars Story #1 Cover Step by Step Part 3 Color


Our variant cover for Rogue One: A Star Wars Story #1 from Marvel Comics

Check out how we made it.

COLOR


FLATS

The first stage of color is called flats - flatting allows me to choose an area to color at any point throughout the coloring process.

I try to adjust the colors to their medium value or imprimatura - I use this as the starting point for the piece. 


INITIAL COLOR (ROUGH IN)

I colored this on my Cintiq 22 HD using Photoshop CS3 .

Here I rough in quickly all the medium lights and darks on the figures and cast initial shadows.

Using the Pencil Tool at 100% to knock those in.

I also used the Gradient tool to give the light to dark orange glow.

And a Custom Cloud Brush to rough in shapes in the background.


ADDITIONAL ROUGH IN

I went on the rest of the figure and face and knocked the next lights and darks using the pencils tooling at 70-80%.

I go to the next level of darker darks and lighter lights


COLORING THE LINE ART

This is the icing on the cake step of the process.

I turn the black lines in select places to color line - note Jyn's face and the buildings in the background.


FINAL COLOR

And done!

And for PART 1


PART 2


TD

Thursday, February 16, 2017

Inhumans Vs X-Men 1-4 Covers


Here's the first FOUR variants that we've done. 

Out in stores now from Marvel Comics!

See the Step by Step making of the covers below!

TD

Ms. Marvel Inhumans Vs X-Men #3 Cover Step by Step Part 3 Color


Inhumans Vs X-Men #3 Variant Covers featuring Ms. Marvel.

By Rachel Dodson and Me.

Out now from Marvel Comics.

Now for Part 3 of the Step by Step -

COLOR


FLATS

The first stage of color is called flats - flatting allows me to choose an area to color at any point throughout the coloring process.

I try to adjust the colors to their medium value or imprimatura - I use this as the starting point for the piece. 


BACKGROUND

First thing I did was to get the background figured out - notice the right side is not completely done but the PATTERN is figured out.


INITIAL COLOR (ROUGH IN)

I colored this on my Cintiq 22 HD using Photoshop CS3 .

Here I rough in quickly all the medium lights and darks on the figures and cast initial shadows.

Using the Pencil Tool at 100% to knock those in.


RIM LIGHT

Next I come in at a variety  from 50- 100 % pencil hitting the medium lights and darks over the imprimatur color.


I add in the bright RIM lighting on a separate layer sometimes, so I can make sure the dark that meets is at it's maximum - the dark on the background layer, the bright light on the upper RIM layer.


COLORING LINE ART

This is the icing on the cake step of the process.


Starting to color the line art - mostly the face and some of the rim lighting.


FINAL COLOR


And to review-

 PART 1


PART 2


 TD

Saturday, December 24, 2016

Spider-Gwen #14 Cover Step by Step Part 3 Color


Rachel Dodson and I did the variant cover for Spider-Gwen #14.

Out now from Marvel Comics!

Here's the Part 3 of the Step by Step of how we made the cover art!


Flats

The first stage of color is called flats - flatting allows me to choose an area to color at any point throughout the coloring process.


Initial Rough In

I colored this on my Cintiq 13 HD using Photoshop CS3 .

Here I rough in quickly all the medium lights and darks on the figures and cast initial shadows.


Background

Using the Pencil Tool on the figure and a customized brush for texture on the clouds.

I used the Gradient Tool for the Background.


And I use a Custom Brush for the Clouds.


Coloring Line Art

At this point I like to color the line art... especially the interior edges and the edges facing the strongest light. 

 Of course, I lose as much of the line as possible - especially as I move away from the "camera".


FINAL COLOR


Detail of final colors.

Recap of the Step by Step -

PART 1


PART 2


TD

Saturday, June 25, 2016

Batman Rebirth #1 Step by Step Part 4 Colors 2


Our cover art for Midtown Comics Batman Rebirth #1 - a full color and black and version are available here-


And here's Part 4 of the Step by Step of how we made the art!

Colors 2


On to the next level of rendering and smoothing.


Nailing the rendering on Selena's face... 

Working on the jewels, goggles...

And see all the layers I'm using here as I add little gradients to smooth out things - which when satisfied I merge...


Now time to convert line art to color...


Skin tones, rim lights, jewels...

This is the fun polishing part of the art.


Sharp eyed viewers will notice the inclusion of Darwyn in the BG. Rachel finished inking this on the 14th of May - the day that Darwyn Cooke was announced to have cancer. I started coloring the cover that same day and continued to work on it Saturday, the 15th of May, when Darwyn passed...

Shocking stuff!

For numerous reasons, it just felt right to include his name on this.


The finished art


All the final line art conversions, glows on signs and gems and final highlights!


Details


So, Pinky...

On the morning of May 14th when Rachel was still wrapping the inks- we took our cat, Pinky, back into the vet, for blood tests and x-ray at 8:00 am as she had not been week that week.

At 10:30 am, we received a call that Pinky had an inoperable tumor on her liver that had been the cause of all the problems that she had been suffering for months and culminated that week.

So needless to say it was a difficult day or two wrapping up this cover but it was great to get her memorialized on this cover as a thanks for being such a good pal!

Our studio has felt much smaller without her in it...


PINKY 

2002-2016

See the Pencil version here


and Inks here


Colors 1


TD

Tuesday, April 26, 2016

More RED ONE Book 2 corrections...

Just when you think you're done they pull you back in...

Doing some more corrections on Red One Book 2.


I love doing corrections actually - because it always allows me time to do more color/art corrects for myself...

Working on Wacom Cintiq 22HD with Photoshop CS3

TD

Monday, April 25, 2016

Working on the Road

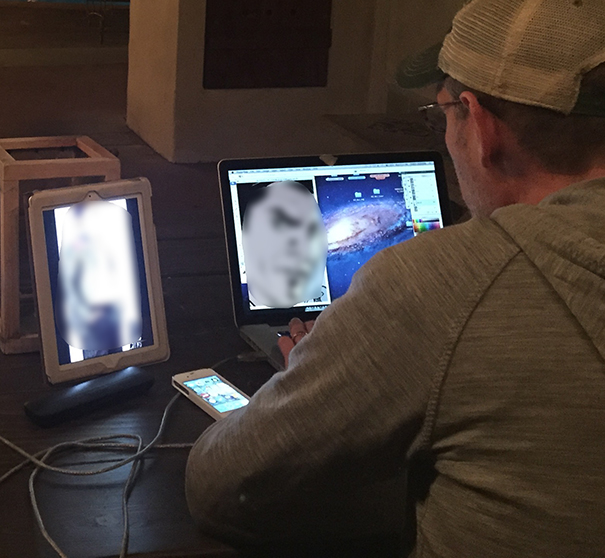
While on vacation in the California desert in February I HAD to get two covers colored while out of my studio.

 This was my set up...


I had to work at this table outside as there was no flat surface in my room. Fortunately it was nice out and felt pretty refreshing to work outside - it kept me stimulated as the evening air cooled - relaxing as opposed to stressful!

On the bed on the far right, is the local cat, who stayed up working with me.

Ignore my ergonomics, that was NOT good - but that was the best I could do...


My set up

My iPad for ref, my iPhone for ... something, my Mac Pro laptop, and of course, my Wacom tablet.

Working in the dark space was beneficial - I prefer coloring with minimal lights on - as reduces glare and let's see the color accurately.

TD

Thursday, April 21, 2016

RED ONE Book 2 Colors DONE ... time for correx...


Color and lettering correx... but should all be done by tomorrow.

Comparing my proofs to screen colors - look pretty good just minor tweaks.

Photoshop CS3 

Wacom Cintiq 22 HD

TD

Monday, April 4, 2016

Star Wars #17 Cover - Step by Step Part 2 Colors

The cover art for Star Wars #17 - out now from Marvel Comics, Jason Aaron and Leinil Yu.

See how I colored this bad boy!


Flats

The first stage of color is called flats - flatting allows me to choose an area to color at any point throughout the coloring process.

Generally, I hire someone to do this for me - a "flatter".


At this stage I go and adjust the colors to their medium value or imprimatura - I use this as the starting point for the piece. 

At this point I knew what colors I wanted so it was a matter of rendering from here on out.


Initial color rough in

I colored this on my Cintiq 13 HD using Photoshop CS3 after I scanned the original line art.


I use a Pencil to rough in at 100% of color then use lower % to add lighter and darker values.


Next level of rendering, using the pencil tool plus the gradient tool to smooth out anything that looks odd.


Also, use the Gradient tool to break up some of the flatter areas. 

Now it's time to start converting the black lines to colors and to highlights and reflective color - next time!


TD