Thursday, August 22, 2013

Halo:Initiation #1 Variant Cover Step by Step

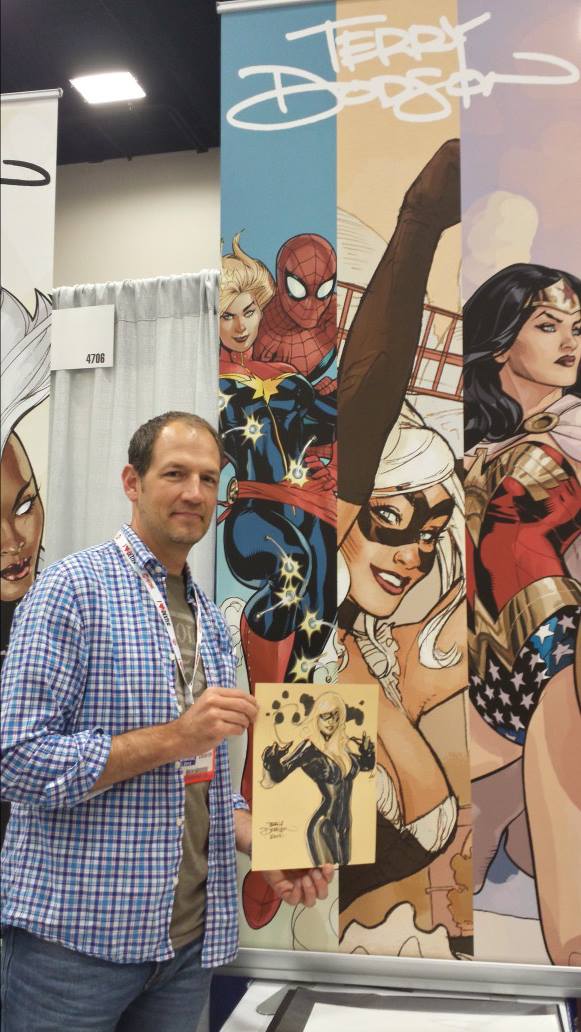
Here's how I created the variant cover to Dark Horse's Halo : Intitation #1 comic book featuring a fight between Sarah Palmer and a Brute Chieftain. 


These are sketches I submitted to Editor Dave Marshall at Dark Horse - drawn at 2x3 inches in my sketchbook in pencil and pen and then cleaned up and colored in Photoshop. Microsoft, the creators of Halo, make the final decision on the cover and choose A.


 The pencils were drawn with light blue and HB lead on 13 x19 " Bristol Board. I ended up having to add paper to the right side and top because the Brute needed to be bigger plus his weapon is GINORMOUS!

So the final size of the original artended up being 14 x 22" - BIG!


I was asked to change Palmer's kicking leg - good advice!

Microsoft and Dark Horse supplied me with a ton of great reference material for this project which was really helpful as fans of this play with these characters in 3 dimensions in the video games - so it was important to everything look "right".


Rachel Dodson's inks were done over my pencils - she used a Windsor Newton Series 7 Kolinsky Sable Brush #2 and Black Magic Ink.


Detail of Rachel's inks featuring the Brutes left arm guard.


My initial stab at the coloring. Microsoft asked for more detail/definition in the background and I wasn't thrilled with what I had done so...


I dropped in an entirely new background which works 10x better.
Colors for this done in Photoshop CS3 using my trusty 11 year old Wacom Intuos Graphics Tablet.

Details of the Sarah Palmer colors.
The book ships from Dark Horse  August 2013.

TD


Wednesday, August 14, 2013

INFINITY #6 Hero Cover Step by Step

Here's  a step by step making of the "Hero" Variant cover of Infinity #6, shipping in October from Marvel Comics - for more info -


On with the show -


I do cover roughs in my 11 x 14 Canson Sketchbook using Col Erase Light Blue Pencil, Pigma Micron and Copic Warm Grey Pens.

Then I scan these in and clean up and color in Photoshop.

These are the prelim sketches I did for approval by my Marvel editor, Lauren Sankovitch. I needed to show 9 different heroes and so went with a movie poster style cover.

They went with A.


Here's my work in progress pencils - drawn on 12 x 18 Bristol Board with Col Erase Light Blue and HB Pencil.


                                                                                    Final pencils.


Rachel Dodson inks done with Windsor Newton Series 7 Kolinsky Sable #2 Brush and Higgins Black Magic ink.


After the inks were scanned and cleaned in Photoshop - I decided to go ahead and color without the use of flats

 (see my previous Step by Steps for more about flats - http://thebombshellter.blogspot.com/2013/06/new-avengers-7-wolverine-house-of-m.html )

just "paint" directly - I use Photoshop CS3 and a Wacom Intuos Graphics Tablet.


How it looks with the Line Art on.


More refining,


Start getting colors on to all the elements.


Finalizing rendering.


Ends up looking like this with the Line Art on and I begin working on FX on the Lineart itself.


I finish up SFX and smooth out fleshtones and coloring the lineart.

The final art.

TD


Friday, August 9, 2013

San Diego Comic Con Recap 3 Saturday and Sunday

Saturday and Sunday at Comic Con where everything start catches up with you and the rubber meets the road for getting sketches done!


So sketching away Saturday AM before I head over to the show! Don't get your eyes checked, that's kinda what mine felt like at this point...


It's not all hard work - sometimes you get cool gifts like this!


Sketching, sketching, sketching....


One of the few sketches I actually managed to draw entirely at the con on Saturday.


And finally my ride comes and takes me away to dinner ;-)


to our Saturday Night regular dinner - at the Panda Inn.


With our regular Saturday Night gang of Scott Benefiel, Aaron Lopresti (and Aaron's son, Josh), Dave Olbrich and Tom Mason (not pictured) - all Malibu Ultraverse alumni - getting together for some good chuckles at our final dinner at the show.


Sketching, sketching, sketching!


At the X-Men Panel on Sunday, sitting next to Sam Humphries' hands and amusing the Gerry Duggan and Brian Posehn. Cool toot of fun to hear what everyone is up to and to see how excited everyone is about upcoming X


Handing out my final sketch on Sunday ...


which I did for the charity Vet Tix Heroe's Wish auction going on NOW on eBAY -


And it felt great to relax and talk to everyone the last couple of hours of the show, before I headed home. 

And that's it for Comic Con 2013!

Already working on plans for SDCC 2014...

See you next year!

TD

Wednesday, August 7, 2013

Superior Spider-Man Team Up #1 Deadpool Cover - Step by Step


Here's a look behind how I made the Deadpool Variant of Superior Spider-Man Team Up 
#1 cover,


My initial cover sketch for the Deadpool Variant of Superior Spider-Man Team Up #1 facing off against the Marvel Universe. I draw this with pencil, pen and copies - scan and cleanup in Photoshop. Then sent to my editor Sana Amanat at Marvel Comics for approval.


It was decided to use Paolo Rivera's actual cover to #1 as the backdrop to have Deadpool facing off with against them.


Here's my initial pencils drawn on 12 x 18 Bristol Board with Paolo's image printed out in light blue.


To help see it a little better now it will look when mixed together.


Rachel Dodson's inks with #2 Sable Brush and tech pens for the guns.


Colored by me in Photoshop - lots of fun coloring Deadpool!


Here's how it looks combined.


Another virtual combination - Rachel's inks with Paolo's version.


And how the printed cover looks!

TD

Friday, August 2, 2013

Captain America SDCC 2013 Step by Step

Here's a look behind how I made this Captain Amerca sketch at SDCC 2013. The sketch owner actually dressed in this costume at the show - I'm sure you can find pics online - about a million were taken while she was in front of my table.


Initial rough in  on 11 x16 Canson Mi-teintes Paper, drawing with an Col Erase Scarlet Red Pencil. Then I go straight to "inking" the outline of the drawing with a small tipped (S, .005, .3) permanent pen (to avoid bleeding when I later use the Copics greys).

I start with the face on these because if it isn't happening here - no point continuing with the sketch.


After getting the drawing "inked", I use Copic Warm Greys starting with the 2 and continuing up with to 3, 4, 6 and 8's for adding all the values. I then come back with the Pigma Graphic 1 and with the pen Dave Gibbons introduced me to in Australa, the Zig Mangaka Pen F to ink the final lines.

I then use White Prismacolor for highlights.


Looks like we could use a background.


Here we go, much better ;-)


And the happy owner, thanks Stephanie!

TD