Showing posts with label Cover. Show all posts

Thursday, May 8, 2025

Original art for ADVENTUREMAN: Family Tree #2 Cover

Original art for ADVENTUREMAN: Family Tree #2 Cover featuring the new Adventureman, Claire Connell, Sally Sweet, Tommy and Cross Draw on their ADVENTURECYCLE!


Original Art is 13" x 19" with brush and ink on Bristol board

Out now from Image Comics!


Preview the issue 

Thursday, May 10, 2018

Batgirl and the Birds of Prey 22 Cover Step by Step Part 1 Pencils

Here's a look at how we made the cover art for Batgirl and the Birds of Prey - 

out now from DC Comics.


PART 1

PENCILS


COVER SKETCH

The cover concept I sent into DC Comicsapproval. 

Roughs were drawn at 2" x 3" in my sketchbook using Warm Grey Copics then colored in Photoshop CS3.


INITIAL PENCILS

Drawn in Light Blue on 13" x 19" Bristol Board. 


I draw with Col Erase Light Blue Pencil and Staedtler HB Lead Pencil.


Getting closer


FINAL PENCILS


All ready for Rachel Dodson to ink...

Next time, 

INKS

in 

PART 2

TD

Wednesday, April 11, 2018

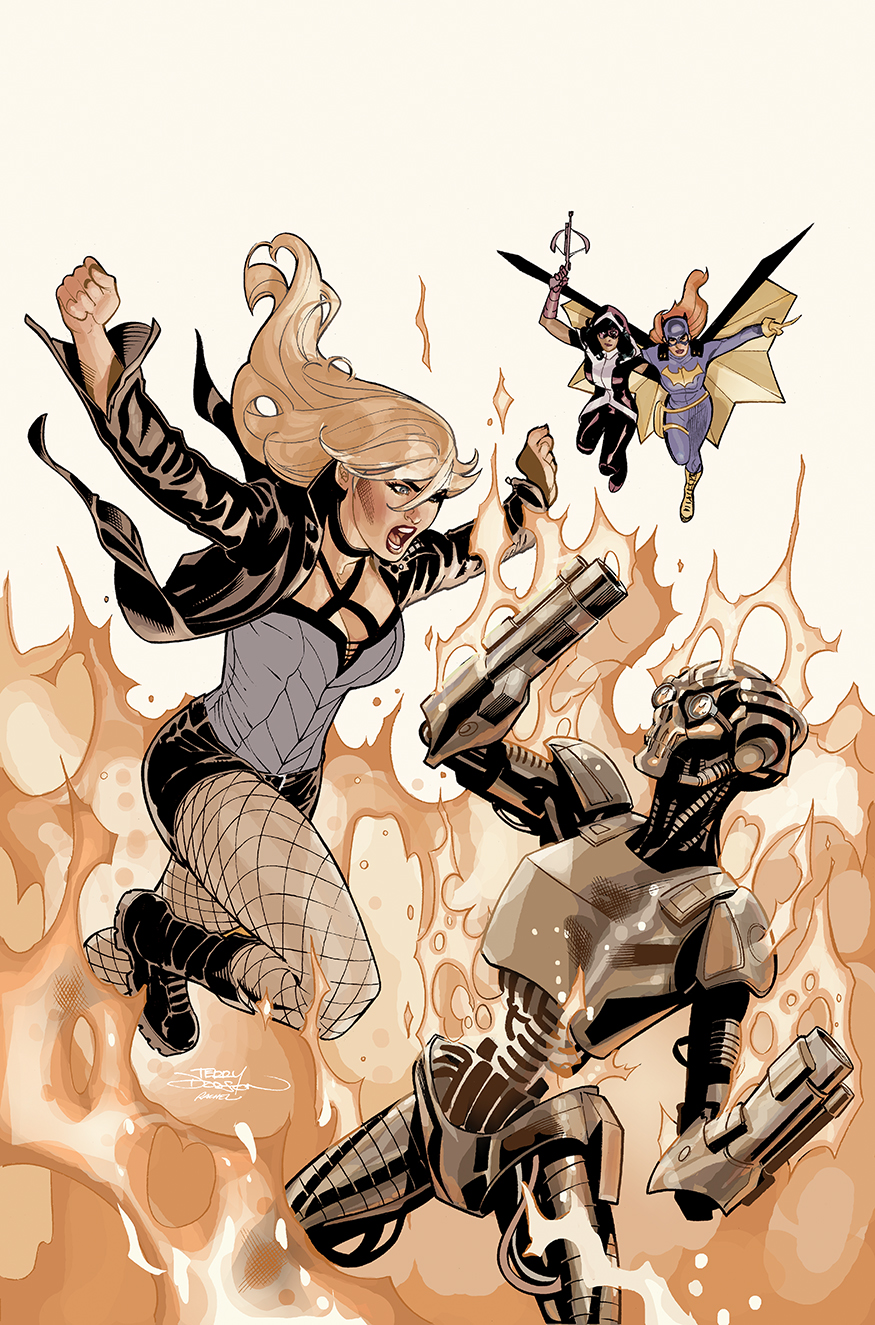
Batgirl and The Birds of Prey #21 Cover Art


The cover art by Rachel and me - out now from DC Comics


My Cover Sketches


My Pencils


Rachel's Inks


My almost completed colors.

TD

Thursday, March 17, 2016

Superman #50 Variant Cover Step 1 Lineart

Here's a look at how we made the cover to Superman #50 guest starring Batgirl!


This was done for Midtown Comics and my DC editor was Mark Chiarello!


This is an interesting assignment as it lines up with the Batman #50 Variant so I had to design them to fit together ...

Roughs were drawn at 2 x 3" in my sketchbook using Warm Grey Copics then colored in Photoshop CS3.


and to work on their own.


Now, I was leaving to go to a SCAD Comics Art Forum for a week so I HAD to finish these pencils so Rachel could ink while I was gone because both this and Batman cover were due the following Wednesday. We were really up against on this one..

Pencils drawn in Light Blue and HB lead on 12 x 18 Bristol Board

I actually drew the bulk of the Batman Cover at the same time so it line up correctly (plus I wouldn't have much left to pencil when I got home...)

And now Rachel's inks ---

Since I was out of town while Rachel was inking - she sent me step by step of the inks!


Rachel started with Batgirl.


Detail


Rachel inks over my pencils with a Windsor Newton Series 7 Kolinsky Sable #2 Brush and Higgins Black Magic Ink to ink the covers with.


Moving along...


Boom! Batgirl Done...


Onto Superman


Almost there....


Done until I get home to take a look at it.


I finished up Supes neck, worked on Batgirl's mouth, and moved her left leg back...

Scan into Photoshop - next time-

 Color...

TD


Thursday, November 5, 2015

Ultimates #1 - Step by Step Part 1 - Pencils

Here's a look at how we created the Variant Cover  for Ultimates #1  out next week from Marvel Comics.


My initial sketch I sent Editor Wil Moss at Marvel.

Knew exactly what I wanted to do and Marvel was happy

 The sketches are drawn at 2x3 inches in my sketchbook in pencil and pen and then cleaned up and colored in Photoshop.


My initial pencils 
drawn in Light Blue and HB lead on 12 x 18 Bristol Board


Refining


Finishing


Done!


Detail of the pencils!

Next time, Rachel Dodson's inks!

TD

Wednesday, August 20, 2014

Infinite Crisis #1 Slumber Party Harley Quinn Variant Cover Step by Step PART THREE Color

      Here's a look behind how the SLUMBER PARTY HARLEY QUINN variant cover of INFINITE CRISIS #1 was created (out NOW from DC Comics).

                                                  And now finally, how I colored this…


The first stage of coloring is to have the art "flatted".

Flatting allows me to choose an area to color at any point throughout the coloring process.

At this stage I go and adjust the colors to their medium value or imprimatura - I use this as the starting point.

Knew exactly how I was going to color this so quick stage for me...


My initial rough in of the colors, done in Photoshop CS3 and Wacom Cintiq 13HD. I add darker values first and then the lighter values.


Already happy with how this is going I move right into altering the lineart to color.


Initial coloring pass.


Screenshot detail


Finalized version


Printed version


You can find this comic at your local comic book retailer


And digitally at 


TD

Thursday, November 21, 2013

X-Men #7 Cover Step by Step Creation

Here's how I created the cover to X-Men #7, now in stores from Marvel Comics. Written by Brian Wood, Inks by Rachel Dodson, Colors by Jason Keith and interiors by me!


First thing was to come up with a cover sketch - and character design simultaneously! This is the very first appearance of the Lady Deathstrike. Brian Woods gave me some suggestions and I ran with it.

These sketches were submitted to Editor Jeanine Schaefer.

 They were
drawn at 2x3 inches in my sketchbook in pencil and pen and then cleaned up and colored in Photoshop.


Jeanine asked that I go with a more close up version and these are what I came up with.

It was decided to go with "H".


 I began penciling the cover  with light blue and HB lead on 12 x 18" Bristol Board. This is interesting as I'm still designing the look of the character as I'm drawing this - welcome to the world of mainstream comics :-)


Using tracing paper, I nailed down the claws and hair as those of the biggest most foreground"est" elements.


After nailing those down, got the face figured out.


Nailing down hairstyle.


Finalizing costume details and working on background.


Final pencils.


Rachel Dodson inks over my pencils. Rachel uses a Windsor Newton Series 7 Kolinsky Sable #2 Brush and Higgins Black Magic ink to ink the covers with.


FLATS

The first stage of coloring is to have the art "flatted".
Flatting allows the colorist to choose an area to color at any point throughout the coloring process.


Getting the colors more how I want them. I use Photoshop CS3 with a Wacom Intuos Graphics Tablet.


Started initial color rough in.


Started working more on the background.


Coloring done.


Corrections and details.

I added some more "gold" detail to the costume.

And at this point I turn black lineart into colors and add special effects (SFX).


The printed comic.

TD