Showing posts with label Superwoman. Show all posts

Tuesday, November 8, 2016

Superwoman #3 Cover Step by Step Part 2 Color


Here's a look at how we made the Superwoman #3 cover.

PART 2

Color


Flats

The first stage of color is called flats - flatting allows me to choose an area to color at any point throughout the coloring process.


Here I adjusted the colors slightly to make them blend together bit better.


Initial Rough In

I colored this on my Cintiq 13 HD using Photoshop CS3 .

Using the Pencil Tool on the figure and a customized brush for texture on the clouds.

I used the Gradient Tool for the Background.


Detail


Intermediate Stage

Added more lights and darks with the Pencil tool. And began adding variation in the shadows to show the environment. Lassoing and using the Gradient in the background.


Coloring Line Art

At this point I like to color the line art... especially the interior edges and the edges facing the strongest light. 

 Of course, I lose as much of the line as possible - especially as I move away from the "camera".


Almost final colors

Finished coloring Line Art and added "fiery" highlights on head!


FINAL COLOR

All done, this is the version I sent to DC Comics!

TD

See how we made the Line Art in 

Monday, November 7, 2016

Superwoman #3 Cover Step by Step Part 1 Line Art


Here's a look at how we made the Superwoman #3 cover.

PART 1

Line Art


COVER SKETCH

My initial sketches for the cover submitted to DC Comics. This featured the new Superwoman... now firmly in her role!

Roughs were drawn at 2" x 3" in my sketchbook using Warm Grey Copics then colored in Photoshop CS3.


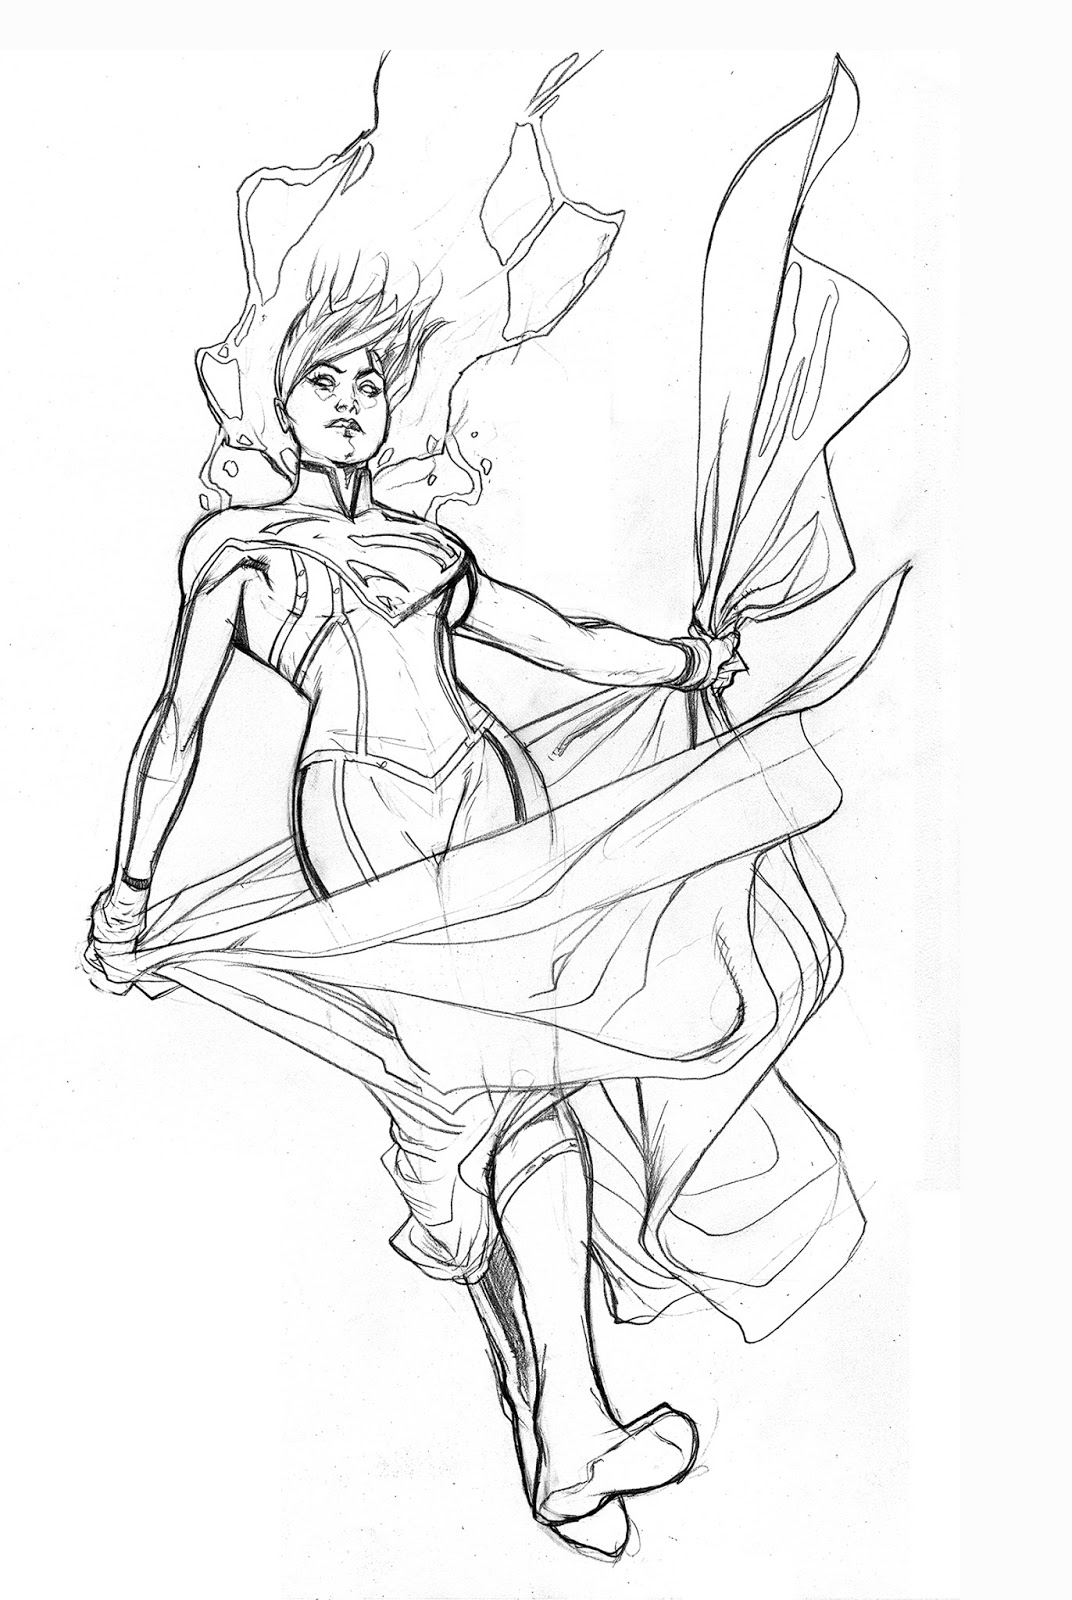
Pencils

Drawn in Light Blue and HB lead on 12" x 18" Bristol Board .

This went very fast, drew the figure first, then clouds, then background.

I know exactly how this will look in color so line art is there just as a basis for my colors.


Detail

Detail of my pencils.

Gave myself the information I need to color. Didn't labor over  any of the line art.


Inks

Rachel Dodson inks over my pencils with a Windsor Newton Series 7 Kolinsky Sable #2 Brush and Higgins Black Magic Ink to ink the covers with. 


Detail of final inks

Rachel nailed everything down. Background very simple...


Detail

Lovely hair lines!

Next time - 


TD

Thursday, October 13, 2016

Superwoman #2 Step by Step Part 2 Color


Here's a look at how we made the Superwoman #2 cover


FLATS

The first stage of color is called flats - flatting allows me to choose an area to color at any point throughout the coloring process.

Generally, I hire someone to do this for me - a "flatter".


At this stage I go and adjust the colors to their medium value or imprimatura - I use this as the starting point for the piece. - the first part of coloring

And I begin working on the background. 


BACKGROUND

Used a Custom "Cloud" brush to rough in the background. 


I change my mind and decide to link this to the Superwoman #1 cover by using my painterly "Leyendecker" background.


Background finished


Detail


Initial Rough In

I colored this on my Cintiq 22 HD using Photoshop CS3 .


Used a big Pencil to rough in at 100% of color then used lower % to work to add lighter and darker values.


I did a lot of coloring at this stage - adding the  lights and darks on all areas of the art.

Still using the Pencil tool for all this...


Coloring Line Art

At this point I like to color the line art... 

I begin by coloring the flesh tones and hair.


Final Colors


Final Details 

I add the little electrical sparks at this final stage.

Done!

Part 1

LINE ART

TD

Friday, September 30, 2016

Superwoman #2 Step by Step Part 1 Line Art


Here's a look at how we made the Superwoman #2 cover


COVER SKETCH

My initial sketches for the cover submitted to DC Comics. This featured the new Superwoman... tricky!

Roughs were drawn at 2" x 3" in my sketchbook using Warm Grey Copics then colored in Photoshop CS3.


Pencils

Drawn in Light Blue and HB lead on 12" x 18" Bristol Board .


Detail

Detail of my pencils


Inks

Rachel Dodson inks over my pencils with a Windsor Newton Series 7 Kolinsky Sable #2 Brush and Higgins Black Magic Ink to ink the covers with. 


More Video of Rachel Inking the upper body


Rachel's final inks


Detail


I altered the cape digitally to better fit the cover space.

Next time - 


TD


Tuesday, August 16, 2016

Superwoman 1 Step by Step Part 3 Color

Superwoman #1 from DC Comics by Phil Jimenez and Matt Sattorelli  and cover art by Rachel Dodson and me.


Now Part 3 of the Step by Step - the color stage!


FLATS

The first stage of color is called flats - flatting allows me to choose an area to color at any point throughout the coloring process.

Flats were done by Gilly Renk.


Initial Color Rough In

I colored this on my Cintiq 22 HD using Photoshop CS3 .


Next, I use a variety of Painterly Brushes to get the painted background look.


I then start going to the next level of lights and darks on all areas of the art.


I colored this on my Cintiq 22 HD using Photoshop CS3 .


Then I convert the line art to colors.

A detailed look at my screen and set up in Photoshop at this stage.


FINAL COLORS

I do a final take -

-add the lightest highlights
-darkest darks
-use Lasso with Gradient and a low % Brush to smooth out edges


And the printed version.

Out in Stores Now!

TD


and 


Wednesday, August 10, 2016

Superwoman 1 Step by Step Part 2 Inks

Superwoman #1 from DC Comics by Phil Jimenez and Matt Sattorelli  and cover art by Rachel Dodson and me.


And here's Part 2 of the Step by Step of how we made the art!

INKS!


Rachel inks over my pencils with a Windsor Newton Series 7 Kolinsky Sable #2 Brush and Higgins Black Magic Ink to ink the covers with.


Detail of the work in process inks


Rachel's final inks after they are scanned into the computer


Detail of Hair and Face 


Detail look at Rachel's brush inking...

Next the Colors in 


See the Pencil version here