

Check Out how we made it
PART 3
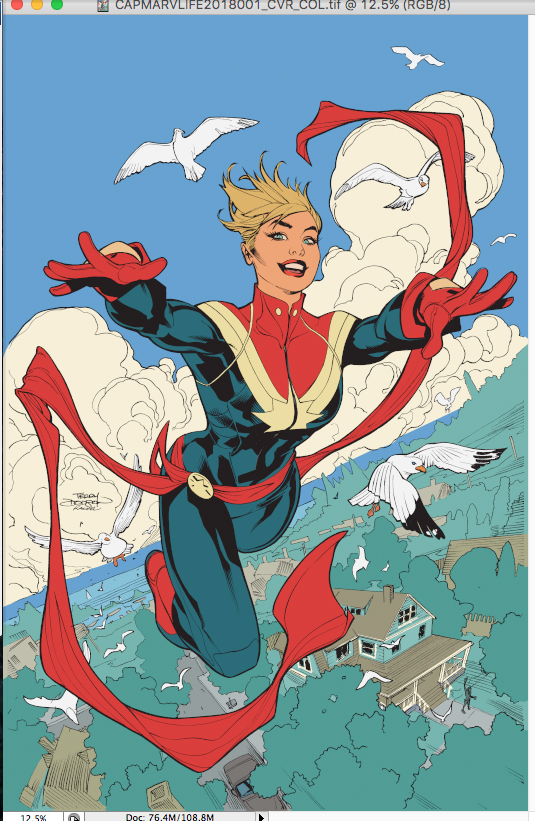
COLOR
FLATS
The first stage of color is called flats - flatting allows me to choose an area to color at any point throughout the coloring process.
INITIAL COLOR ROUGH


I knew I wanted a strong rim light, so I got Captain Marvel's face value approximately right then hit it with the RIM light.

I then rough in quickly all the medium lights and darks on the figures and cast initial shadows.

Using the Pencil Tool (Hard Round pixel Brush) at 100% to to begin and then switch to lower 30-50% to get the right value of color for the next stages of rendering.
COLORING THE LINE ART

This is the icing on the cake step of the process.

I colored a lot of the black lines - notice the lips, flesh outline clothes and SFX in the background.

Working more on the clouds and background
FINAL TOUCHES

Pushing the final highlights
FINAL


No one does a better job of depicting the sheer joy of flying.
ReplyDeleteThanks! So much fun - we all wish we could do it and this as close as I get to doing it!
Delete