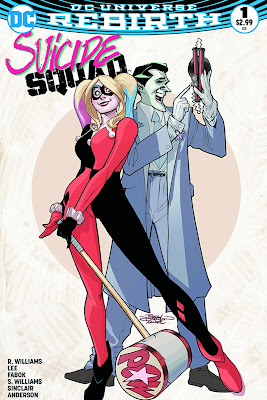
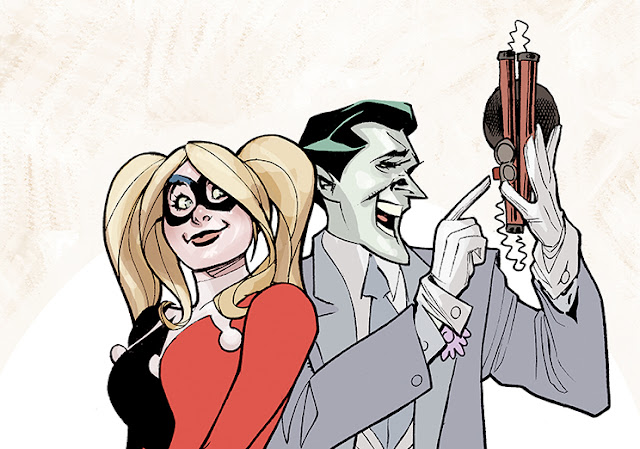
Here's a look at how we made the cover-
So this is what the art looks like before I start coloring!
FLATS
The first stage of color is called flats - flatting allows me to choose an area to color at any point throughout the coloring process.
I just colored the Harley Quinn #1 cover so just grabbed colors from that for the flats.
Flats done - ready to roll!
Initial colors
I put my painterly "Leyendecker" background first and switch Joker to a more subtle purple.
Initial Rough In
I colored this on my Cintiq 22 HD using Photoshop CS3 .
Detail
I did a lot of coloring at this stage - adding the lights and darks on all areas of the art.
Used the Pencil tool at this point.
Playing the background
Coloring Line Art
At this point I like to color the line art...
Line Art Detail
I begin coloring the Hair and Flesh Line Art
Then I switch the background one final time and darken up the values on Joker and render Harley's outfit a bit!
Time to work on the new trademark Harley Hair!
And voila - done!
Part One
TD


No comments:
Post a Comment