Our variant cover - out in stores now!
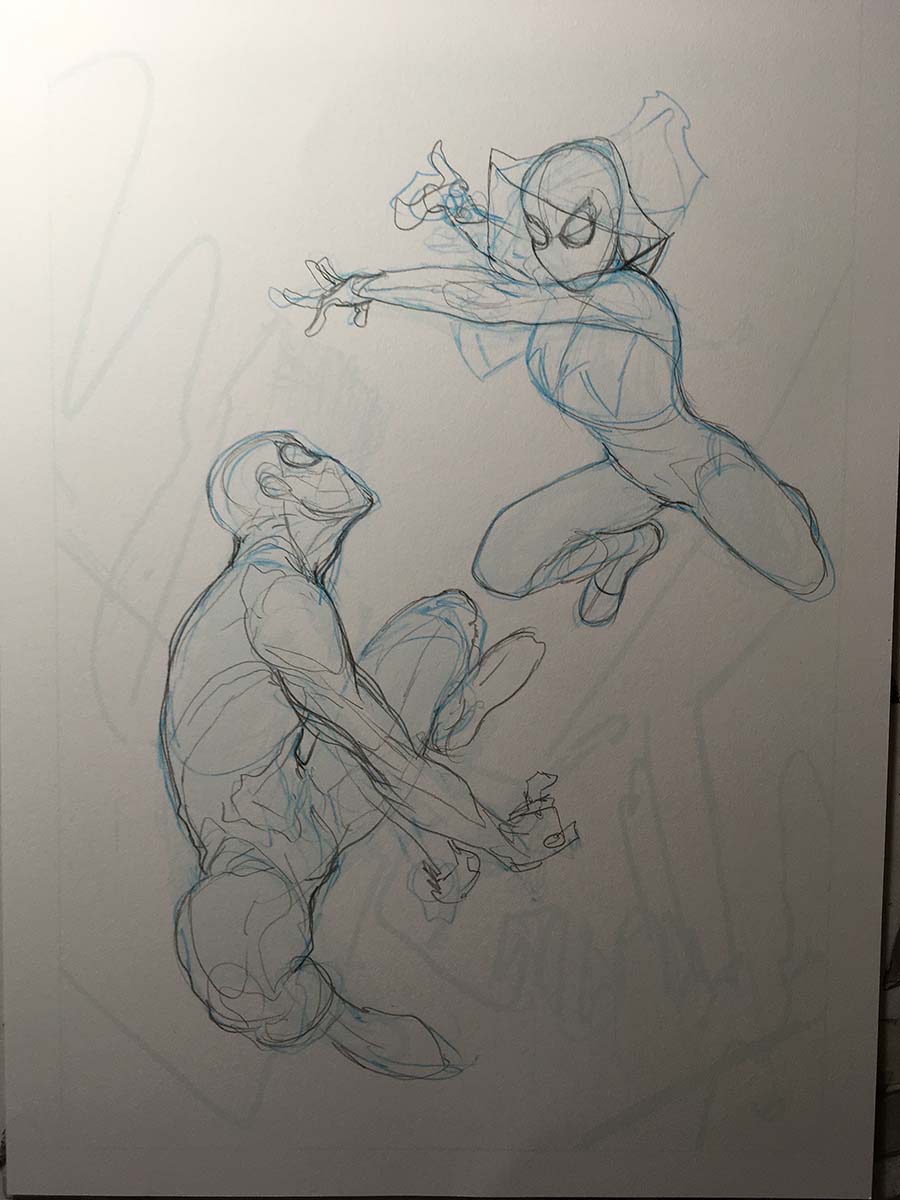
Part 2 Line Art

Rachel Dodson started with Superman's face first.
I love how she treated his hair!

Next she moved on to Enchantress' face.

Rachel inks over my pencils with a Windsor Newton Series 7 Kolinsky Sable #2 Brush and Dr. Martens Hi Carb Ink to ink the covers with.

She then inked the mass of the main figures.

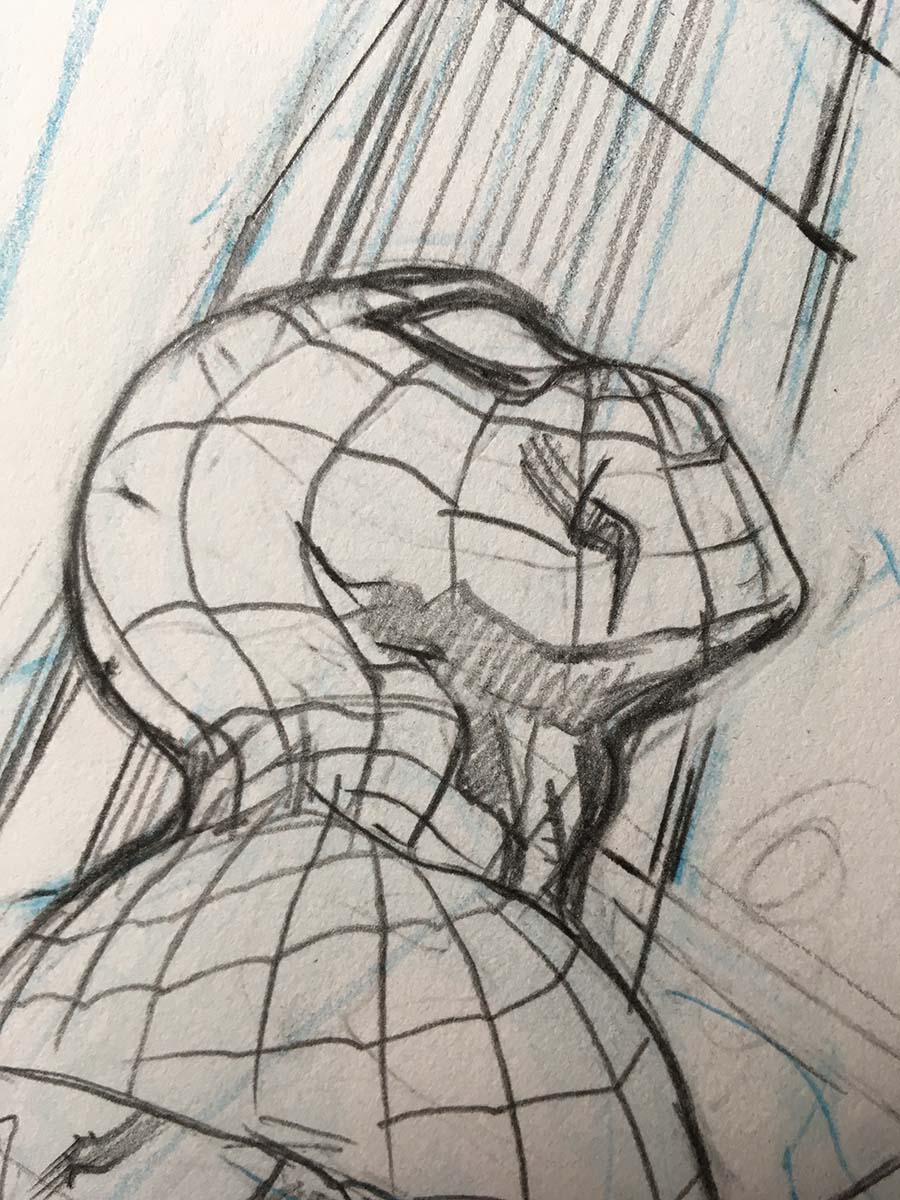
Detail

No white out just drawing with blacks...
Here's video of Rachel inking the cape and Superman!

Final Inks

Detail of Supe and check out the grey in the capes shadows...

Final detail of Enchantress
I then clean up the scan in Photoshop to prep for coloring...
Next time-
Part 3
And to see Part 1
TD