Saturday, October 29, 2016

Star Wars: Poe Dameron #7 Variant Cover Step by Step Part 1 Line Art

Here's a look at how we created the cover for Poe Dameron #7.


COVER SKETCHES

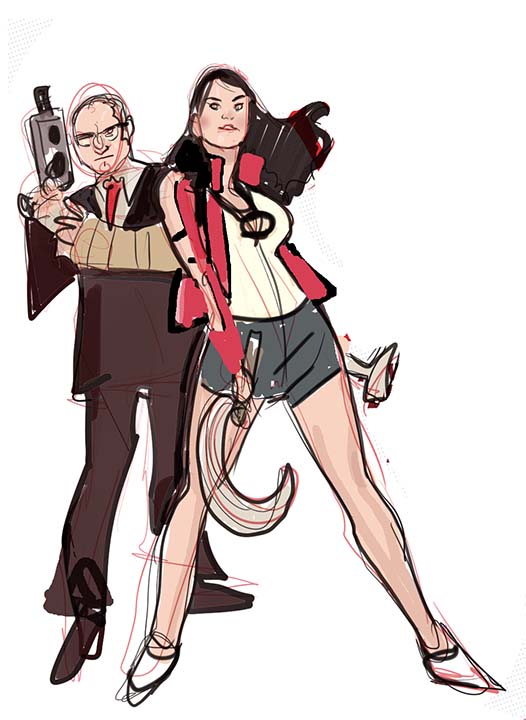
The cover concepts I sent into Marvel Comics Editors Heather Antos and Jordan White and Lucasfilm for approval.

Roughs were drawn at 2" x 3" in my sketchbook using Warm Grey Copics then colored in Photoshop CS3.

A was chosen


INITIAL PENCILS

Drawn in Light Blue and HB lead on 12" x 18" Bristol Board .


Detail of initial Poe!


Moving on to BB8


Final Pencils

Finish and tighten details for Rachel to ink and ...


Inks

Rachel inks over my pencils with a Windsor Newton Series 7 Kolinsky Sable #2 Brush and Higgins Black Magic Ink to ink the covers with.


Detail of Poe inks

Next the Colors in 


TD


Friday, October 28, 2016

The Boston TERROR Inktober


The Boston TERROR

Inktober Continues...

Col Erase Scarlet Red Pencil

Strathmore Bristol

Copic Warm Grey 4

Zig Mangaka Flex F

TD

Thursday, October 27, 2016

Star Wars, Hulk and Poe Dameron Covers

A bunch of covers have come out recently that we've done-

Star Wars #24 Mile High Comics Variant 


Totally Awesome Hulk #11


Star Wars: Poe Dameron 7 Variant

TD


Sunday, October 23, 2016

Coraline Sketch Step by Step


Here's a look at how I made this Coraline sketch....


Drawn on 14 x 17 Strathmore 2ply Vellum Bristol Board.

Roughed in very quickly with a Col Erase Light Blue Pencil.

THIS is 90% done...

If it isn't happening here, it isn't happening.


Since I'm happy with the composition and the proportions I go ahead and nail down the face.


Next, I work on the rest of the figure.


Next, I work on the hands.


Clothing gets figured out...


Working out background


Happy with this now, just need to clean up and do final touches..


The final touches via video


Detail of the Final

TD

Saturday, October 22, 2016

Wonder Woman 75th Anniversary Box Set

Here's a look at the new box set-


It includes Gail Simone and our The Circle collection!


And our original Wonder Woman promo art.


Plus George Perez, Brian Azzarello/Cliff Chiang and Greg Rucka/Drew Johnson stories!


Very nice!

Thanks, DC Comics!

TD

Thursday, October 20, 2016

RED ONE #4 Cover Art Step by Step Part 2 Colors


Here's Part 2  of how we made the cover for RED ONE #4, I color the art digitally, using the computer application Photoshop CS3 and a Wacom Cintiq
22HD interactive pen display. 


FLATS

The first stage of color is called flats - flatting allows me to choose an area to color at any point throughout the coloring process.

At this stage I go and adjust the colors to their medium value or imprimatura - I use this as the starting point for the piece. - the first part of coloring


Initial Rough In

I colored this on my Cintiq 22 HD using Photoshop CS3 .

I use a big Pencil to rough in at 100% of color then used lower % to work to add lighter and darker values.


I start adding darker and lighter values and casting shadows at this point, mostly using Pencil tool used at lower and lower %'s initially.

Add reflective lights to Lew and Vera's faces.

I add Lew's Grayish stubble to his face - just an illusion of beard.


Coloring Line Art

At this point I like to color the line art... 

I begin by coloring the flesh tones and hair, and then move onto light clothing areas and rim lit objects.

Also all the final highlights and darkest darks.

Voila, done!

TD

To see Part 1


Contact your local retailer to get RED ONE # 4 -


Diamond ID: AUG160654


From 


and 

Tuesday, October 18, 2016

RED ONE #4 Cover Art Step by Step Part 1 Line Art


Here's a look of how we made the cover for RED ONE #4-


SKETCH

My sketch for the cover drawn digitally in Manga Studio.

Boom! It's all here - time to draw!


PENCILS

Initial rough in of drawing. Basically, just draw it - the idea and composition is good.


I draw on 12” x 18” Strathmore 500 Series 2 Ply Vellum Bristol Board with a Col Erase Light Blue Pencil and Staedtler HB Lead and Lead Holder.


Alternating Vera's head/expression slightly until I get the attitude I want.


Final Pencils

I nail down all the final details last - the camera, weapons, boots - so I don't have to draw them twice in case there are problems with the drawing that need to be corrected.


INKS

Rachel Dodson’s in process inks for the cover of RED ONE #4.


Rachel inks directly over Terry’s pencils with a Winsor Newton Series 7 #2 Finest Sable Brush and Higgins Black Magic Ink.

Next time -


TD

Contact your local retailer to get RED ONE # 4 -


Diamond ID: AUG160654


From 


and 

Monday, October 17, 2016

Leia Sketch Cover Step by Step

A look at how I made this Princess Leia Sketch Cover for  a New York Comic Con fan.


So this is drawn on a blank Star Wars #1 Cover.

I rough in the drawing quickly with a Col Erase Scarlet Red Pencil.

Next, I rough in the initial values from light to dark using Copic Warm Grey Markers 1, 2, and 3.

I like this seat of the pants style of drawing - very much like painting!

Kinda a mess, but that's what I need to start finding the line using a Micron Pigma 02 Black Pen.


Continuing with the line art.


Next, I start using the Copic Warm Grey 4 and 5 to find the darker values.


Finally, I use a Pitt S and F Black Pen to nail down the final drawing plus a Copic Warm Grey 6 for the final darks and a White pen for highlights on the metals, eyes, lips, and nose.

May the force be with you!

TD

Thursday, October 13, 2016

Superwoman #2 Step by Step Part 2 Color


Here's a look at how we made the Superwoman #2 cover


FLATS

The first stage of color is called flats - flatting allows me to choose an area to color at any point throughout the coloring process.

Generally, I hire someone to do this for me - a "flatter".


At this stage I go and adjust the colors to their medium value or imprimatura - I use this as the starting point for the piece. - the first part of coloring

And I begin working on the background. 


BACKGROUND

Used a Custom "Cloud" brush to rough in the background. 


I change my mind and decide to link this to the Superwoman #1 cover by using my painterly "Leyendecker" background.


Background finished


Detail


Initial Rough In

I colored this on my Cintiq 22 HD using Photoshop CS3 .


Used a big Pencil to rough in at 100% of color then used lower % to work to add lighter and darker values.


I did a lot of coloring at this stage - adding the  lights and darks on all areas of the art.

Still using the Pencil tool for all this...


Coloring Line Art

At this point I like to color the line art... 

I begin by coloring the flesh tones and hair.


Final Colors


Final Details 

I add the little electrical sparks at this final stage.

Done!

Part 1

LINE ART

TD